How to Set Up YouTube Live Streaming in 2025: A Step-by-Step Technical Guide for Beginners
You have a message to share, an audience waiting, and a camera ready. But between pressing "record" and actually going live on YouTube, there's a technical gap that stops many creators before they start. The good news: you do not need a broadcast studio or a degree in video engineering to stream successfully.
This guide walks you through the exact technical steps to set up YouTube live streaming, from checking your internet connection to clicking "Start Streaming" with confidence. Whether you are launching your first stream or troubleshooting setup issues, you will find the specific requirements, software options, and pre-stream checklist you need.
Check Your Technical Requirements First
Before you configure software or plan your first stream, verify that your channel and internet connection meet YouTube's baseline requirements.
Account and Channel Requirements
According to Primal Video, you need at least 50 subscribers to stream via the YouTube mobile app. New channels without this threshold can still stream using desktop software, but YouTube may limit visibility until the channel reaches 1,000 subscribers.
If you are below 50 subscribers and want to stream from mobile immediately, apps like Prism Live Studio can help bypass the minimum. However, building a small subscriber base first (even 50 people) often leads to better engagement during your early streams.
Internet Speed Requirements
Your upload speed determines stream quality. According to OneWrk, you need a minimum 5 Mbps upload speed for 1080p streaming. Test your actual upload speed using a service like Speedtest.net. Your download speed does not matter for streaming, only upload.
YouTube's official guidance recommends leaving 20% bandwidth headroom above your total stream bitrate. If you plan to stream at 4 Mbps, you should have at least 5 Mbps available. This buffer prevents dropped frames when other devices on your network use bandwidth or when your connection fluctuates.
If your upload speed falls short, consider:
- Connecting your computer directly to your router with an ethernet cable instead of using WiFi
- Streaming at 720p instead of 1080p (requires 3-4 Mbps instead of 5 Mbps)
- Upgrading your internet plan if you stream regularly
Hardware Minimums
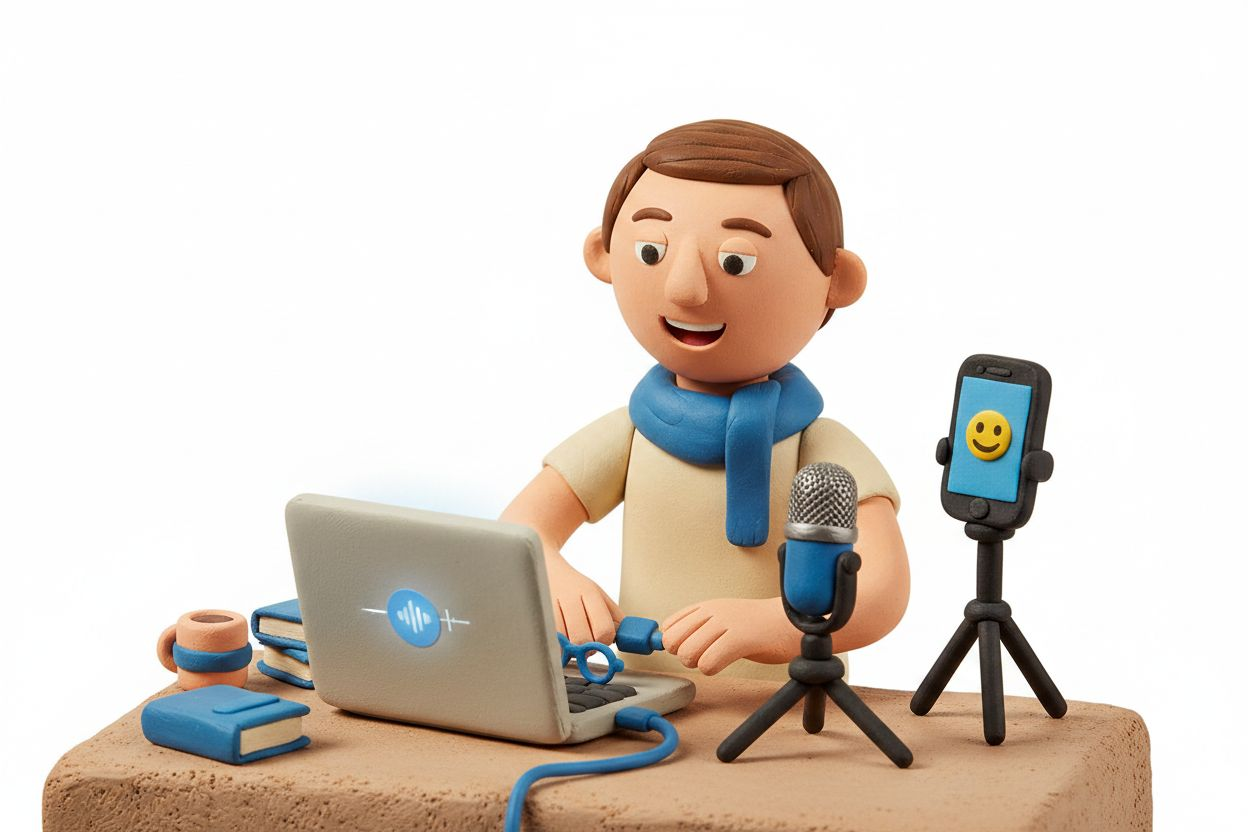
You can start streaming with equipment you likely already own. According to OneWrk, a smartphone setup costing $50 to $150 is enough to learn streaming fundamentals. This typically includes your phone, a basic tripod, and a clip-on microphone.
For desktop streaming, you need:
- A computer capable of running streaming software (most laptops from the past 5 years work)
- A webcam (built-in or USB)
- A microphone (even a basic USB mic improves audio significantly over built-in laptop mics)
You do not need professional gear to start. Focus on stable internet and clear audio before investing in cameras and lighting.
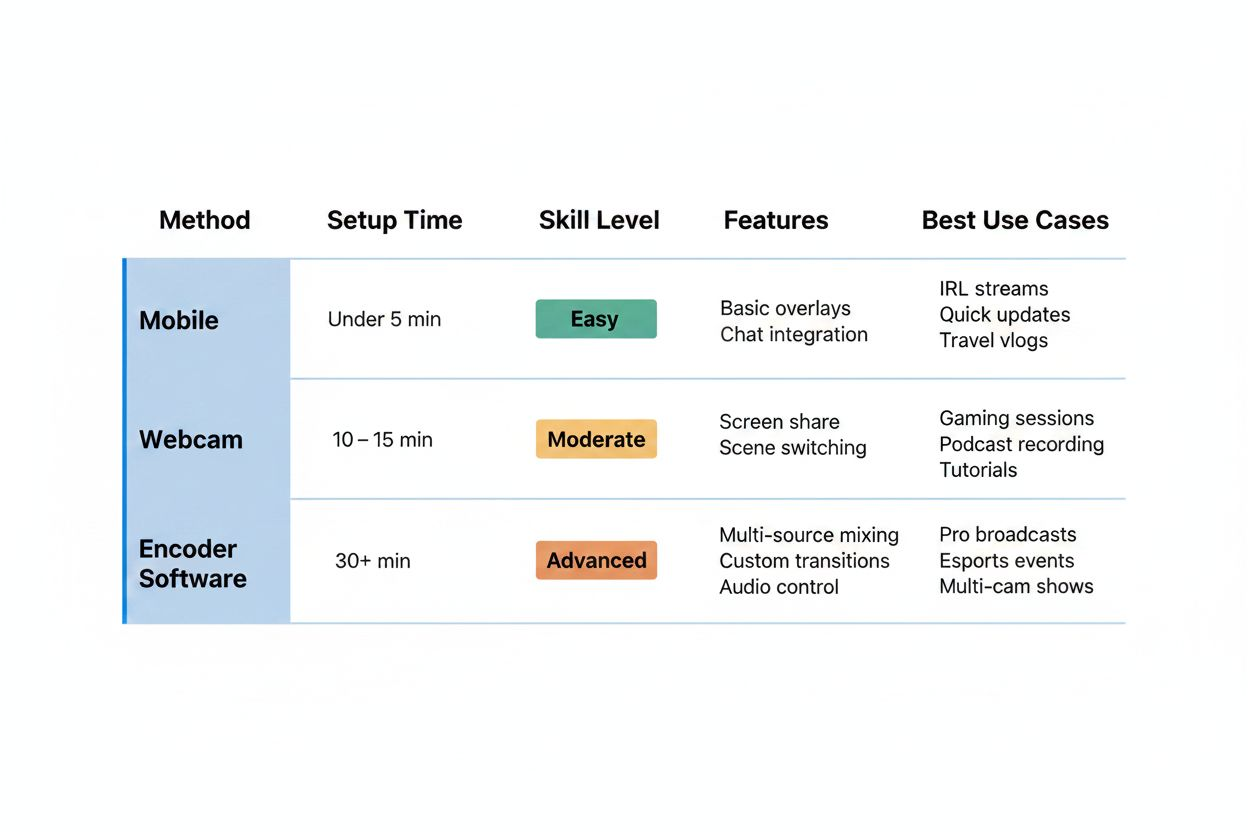
Choose Your Streaming Method
YouTube offers three ways to go live. Each suits different situations and skill levels.
Mobile Streaming (Quickest Start)
The YouTube mobile app provides the fastest path to your first stream. Open the app, tap the plus icon, select "Go Live," and you are streaming within seconds. This method works well for:
- Spontaneous streams
- Behind-the-scenes content
- Outdoor or on-location broadcasts
- Creators who want to test streaming before investing in equipment
Limitations: You cannot add overlays, multiple camera angles, or screen sharing. Video quality depends entirely on your phone's camera and lighting conditions.
Webcam Streaming (Built Into YouTube)
YouTube Studio includes a built-in webcam streaming option. Navigate to youtube.com/livestreaming, select "Webcam," and YouTube handles the encoding automatically. This method requires no additional software and works directly in your browser.
Best for:
- Simple talking-head streams
- Q&A sessions
- Streams where you do not need custom graphics or multiple sources
Limitations: You cannot switch between scenes, add lower thirds, or include multiple video sources. The interface is basic but reliable.
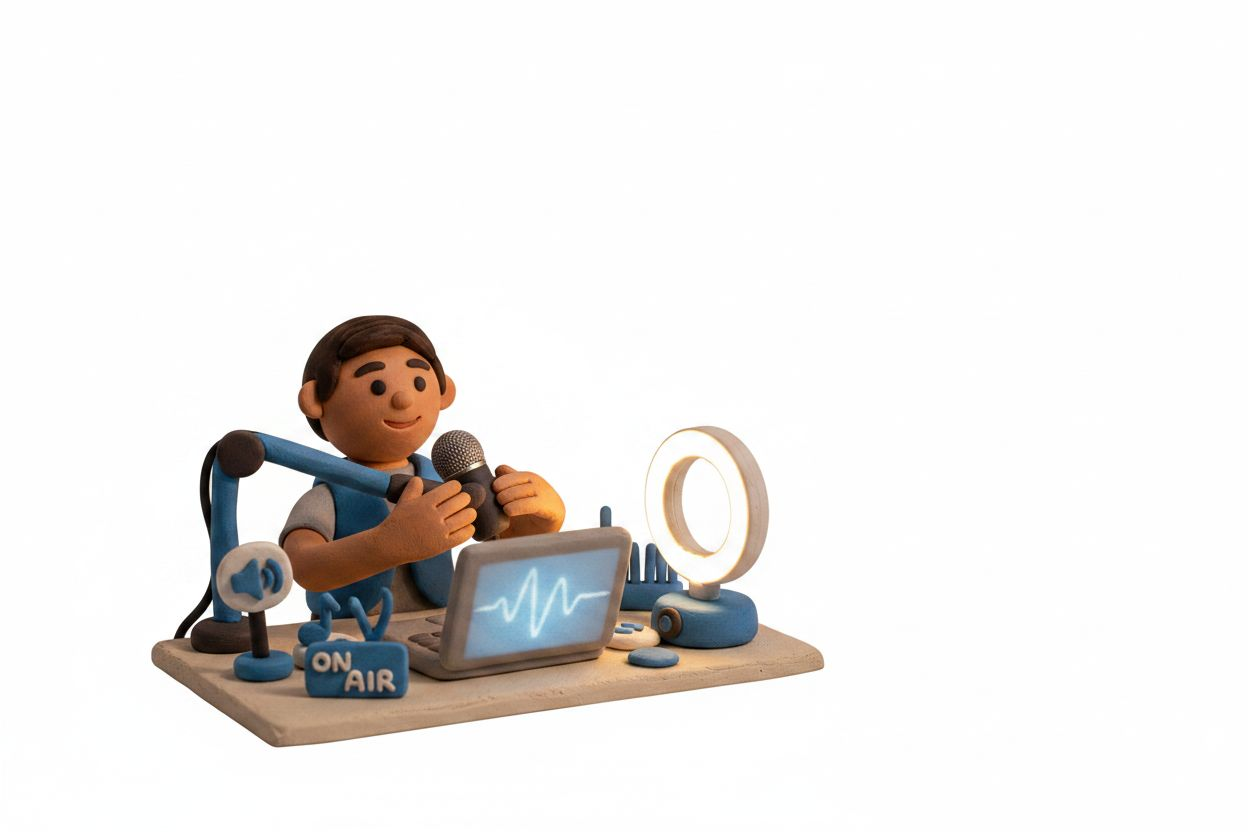
Encoder Software (Maximum Control)
Streaming software like OBS Studio, Streamlabs, or XSplit gives you full control over your broadcast. You can add multiple cameras, screen captures, graphics, transitions, and audio sources. This is the method most established streamers use.
Best for:
- Gaming streams
- Tutorial content with screen sharing
- Professional-looking productions
- Streams that require scene switching or overlays
The learning curve is steeper, but the flexibility makes it worthwhile for creators planning regular streams.
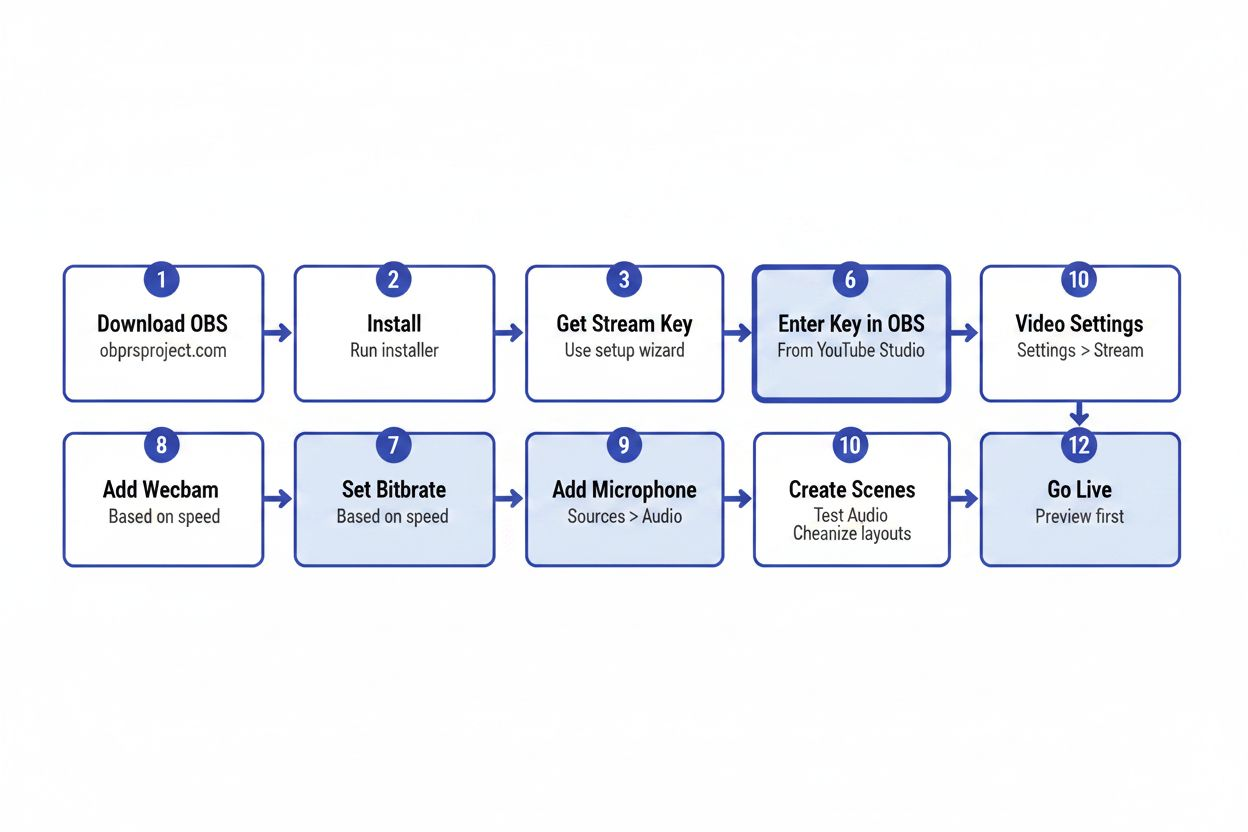
Set Up OBS Studio for YouTube Streaming
OBS Studio (Open Broadcaster Software) is free, powerful, and the industry standard for streaming. This section walks through the complete setup process.
Download and Install OBS
Visit obsproject.com and download the version for your operating system (Windows, Mac, or Linux). Install it like any other application. When you first open OBS, it will run an auto-configuration wizard. Let it run and test your system. You can adjust settings later.
Connect OBS to Your YouTube Channel
You need to link OBS to your YouTube account using a stream key:
- Open YouTube Studio and navigate to the "Go Live" section
- Select "Stream" (not webcam)
- Copy your stream key (a long string of letters and numbers)
- In OBS, go to Settings > Stream
- Select "YouTube - RTMPS" as your service
- Paste your stream key into the designated field
- Click "Apply" and "OK"
Keep your stream key private. Anyone with this key can stream to your channel.
Configure Video Settings
In OBS Settings > Video:
Base (Canvas) Resolution: Set this to your monitor's resolution (typically 1920x1080)
Output (Scaled) Resolution: Set this to your stream resolution. For most beginners, 1920x1080 (1080p) or 1280x720 (720p) works well. If your internet speed is marginal, choose 720p.
FPS (Frames Per Second): Set to 30 for most content. Use 60 only for fast-motion content like gaming, and only if your upload speed supports it.
Configure Output Settings
In OBS Settings > Output:
Output Mode: Set to "Simple" for now
Video Bitrate: This determines your video quality and must match your internet speed. For 1080p at 30fps, use 4500-5000 kbps. For 720p at 30fps, use 2500-3000 kbps. Remember to leave 20% headroom as YouTube recommends.
Encoder: If you have an NVIDIA graphics card, select "NVENC H.264." Otherwise, use "x264." NVENC uses your graphics card for encoding, reducing CPU load.
Audio Bitrate: Set to 128 or 160 kbps. Higher values do not noticeably improve quality for speech.
Add Your Video and Audio Sources
OBS works with scenes and sources. A scene is a collection of sources (video, audio, images, text) that appear together.
To add your webcam:
- In the "Sources" panel, click the plus icon
- Select "Video Capture Device"
- Name it (like "Webcam")
- Select your camera from the dropdown
- Click "OK"
Your webcam feed now appears in the preview window. You can resize and position it by clicking and dragging.
To add your microphone:
- In the "Audio Mixer" panel, you should see your mic listed
- If not, go to Settings > Audio and select your microphone under "Mic/Auxiliary Audio"
- Speak and watch the audio meter. It should move and peak in the yellow range, not red
Create Additional Scenes
Most streams benefit from multiple scenes you can switch between:
Starting Soon Scene: Displays a graphic or message while viewers join before you start
Main Content Scene: Your primary streaming view (webcam, screen share, or both)
Be Right Back Scene: Shows when you take a break
Ending Scene: Thanks viewers and displays social media links
Create a new scene by clicking the plus icon in the "Scenes" panel. Add sources to each scene independently. Switch between scenes during your stream by clicking on them.
Schedule and Configure Your Stream in YouTube Studio
YouTube lets you set up stream details before you go live. This preparation reduces stress and helps viewers find your stream.
Create a New Live Stream
According to Primal Video, you can schedule streams, set privacy levels, and upload custom thumbnails in advance.
In YouTube Studio:
- Click "Create" and select "Go Live"
- Choose "Stream" (for encoder software)
- Click "Schedule Stream" if you want to set a future date and time
Set Stream Details
Title: Make it specific and searchable. Include your target keyword naturally. "Q&A: Answering Your Questions About YouTube Streaming" works better than "Live Stream #5."
Description: Explain what viewers will see, include timestamps if you plan multiple segments, and add relevant links. The first two lines appear in search results, so front-load important information.
Thumbnail: Upload a custom thumbnail that clearly shows your topic. Thumbnails with faces, text, and high contrast perform better than generic images.
Privacy Settings: Choose public (anyone can find and watch), unlisted (only people with the link can watch), private (only you can see it), or members-only (requires channel membership). New streamers often start with unlisted to test their setup with a small audience before going fully public.
Enable Live Chat and Other Features
In the stream settings:
Live Chat: Enable this to interact with viewers in real time. You can also enable slow mode (limits how often viewers can send messages) or subscribers-only mode.
DVR: This allows viewers to pause and rewind your live stream. Keep it enabled unless you have a specific reason not to.
Age Restrictions: Set if your content is not suitable for all ages.
Monetization: If your channel is eligible, you can enable ads on your live stream.
Set Up Stream Delay (Optional)
A stream delay of 10-30 seconds gives you time to catch and fix issues before viewers see them. This is useful for new streamers who might need to adjust audio, video, or on-screen elements during the broadcast.
Find this option under "Stream Settings" in YouTube Studio. The trade-off: chat messages will be slightly out of sync with your live actions.
Run Your Pre-Stream Technical Checklist
YouTube recommends setting up encoders at least 2 hours in advance for live events and starting encoders at least 15 minutes before the scheduled start time. This buffer gives you time to catch problems.
Two Hours Before: Complete Setup
- Open OBS and verify all scenes display correctly
- Check that your stream key is entered correctly
- Test your internet speed again to confirm upload bandwidth
- Close unnecessary applications that might use bandwidth or CPU
- Disable notifications on your computer to avoid interruptions
- Set your phone to silent or airplane mode if it is nearby
30 Minutes Before: Start Technical Tests
- Click "Start Streaming" in OBS (this connects to YouTube but does not make you live yet)
- Open YouTube Studio and navigate to the Live Control Room
- According to YouTube, always preview your stream in the Live Control Room before clicking Start Streaming
- Check the stream health indicator. It should show green (good connection)
- Verify your video appears correctly
- Check audio levels. Speak at normal volume and ensure the meter stays in the green-to-yellow range
- Test scene switching by clicking through your different scenes in OBS
- If you have a second device, open your stream preview on it to see what viewers will see
15 Minutes Before: Final Checks
- Confirm your lighting looks good on camera
- Do a final audio check by recording 30 seconds and playing it back
- Review your stream title, description, and thumbnail one last time
- Check that your "Starting Soon" scene is active in OBS
- Take a breath
Going Live
When you are ready for viewers to see your stream:
- Ensure your "Starting Soon" scene is active in OBS
- In YouTube Studio Live Control Room, click "Go Live"
- Your stream is now public (or unlisted/private depending on your settings)
- Wait 2-3 minutes for viewers to join
- Switch to your main content scene in OBS
- Start your stream
Set Up a Backup Encoder (For Important Streams)
If your stream matters (product launches, paid events, important announcements), a backup encoder prevents disaster if your primary connection fails.
YouTube recommends setting up a backup encoder and testing failover before going live. Here is how:
Configure Backup Streaming
You need two computers or a second streaming device:
Primary Encoder: Your main computer running OBS with your primary internet connection
Backup Encoder: A second computer or laptop running OBS with a different internet connection (mobile hotspot, different network, or secondary ISP)
In YouTube Studio, enable backup ingestion:
- Go to Stream Settings
- Enable "Backup Stream"
- YouTube will provide a second stream key
- Enter this key into your backup encoder
Both encoders should stream identical content. YouTube automatically switches to the backup if your primary connection drops.
Test Failover Before Your Stream
At least one day before an important stream:
- Start both encoders streaming
- Verify both show "connected" in YouTube Studio
- Deliberately disconnect your primary encoder (unplug ethernet or disable WiFi)
- Check that YouTube switches to the backup within 10-15 seconds
- Reconnect your primary encoder
- Verify YouTube switches back
This test confirms your backup works when you need it.
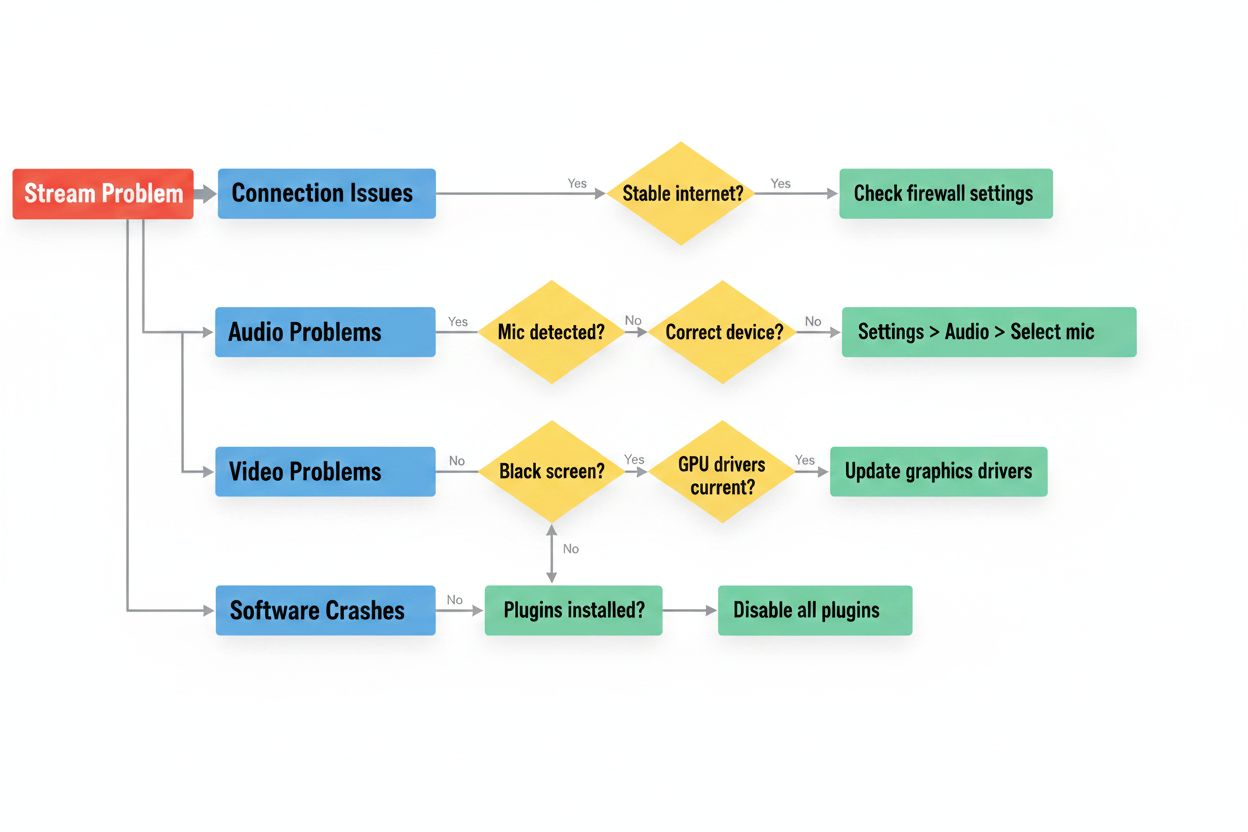
Troubleshoot Common Setup Issues
Stream Health Shows Red or Yellow
This indicates connection problems. Check:
- Your upload speed (test it again)
- Other devices using your network (pause downloads, streaming, or large uploads)
- Your bitrate setting in OBS (lower it if your connection cannot handle the current setting)
- WiFi signal strength (move closer to router or switch to ethernet)
Audio Is Out of Sync With Video
This happens when your computer struggles to encode video in real time:
- Lower your output resolution in OBS (switch from 1080p to 720p)
- Reduce your frame rate from 60fps to 30fps
- Close other applications
- If using x264 encoder, switch to a faster preset (Settings > Output > Encoder Preset > "veryfast" or "ultrafast")
Viewers Report Choppy or Pixelated Video
Your bitrate is too low for your resolution, or your internet connection is unstable:
- Increase bitrate in OBS (but only if your upload speed supports it)
- Lower your output resolution
- Check for packet loss using a network monitoring tool
- Consider streaming at a different time when internet traffic is lower
No Audio in Stream
Check these in order:
- Audio meter in OBS: Is it moving when you speak?
- If not, verify your microphone is selected in Settings > Audio
- Check that the audio source is not muted in OBS (look for a speaker icon next to the source)
- In YouTube Studio Live Control Room, check that audio is not muted in the preview player
- Verify your microphone works in other applications
Stream Starts But Shows Black Screen
Your video source is not configured correctly:
- In OBS, check that your video source is visible in the preview window
- Verify the source is not hidden (eye icon should be open, not closed)
- If using a camera, check that no other application is using it
- Try removing and re-adding the video source
Understand Streaming Costs and Equipment Tiers
According to OneWrk, you can start with a smartphone setup costing $50 to $150, move to a dual camera setup costing $2,000 to $3,500 for growing channels, or invest in enterprise broadcast setups at $25,000+ for professional-grade equipment.
Smartphone Tier ($50-$150)
What you get:
- Your existing smartphone
- Basic tripod ($15-30)
- Clip-on lavalier microphone ($20-50)
- Ring light or desk lamp for basic lighting ($30-70)
This tier teaches you streaming fundamentals: engaging with live chat, speaking to camera, managing stream timing, and understanding what your audience wants. Many successful streamers started here.
Entry Desktop Tier ($300-$800)
What you get:
- USB webcam ($60-150)
- USB microphone ($70-150)
- Basic lighting kit ($50-100)
- Free streaming software (OBS Studio)
- Optional: capture card if streaming console games ($120-200)
This tier gives you better video and audio quality than smartphone streaming and allows you to add screen sharing, overlays, and multiple scenes.
Intermediate Tier ($1,000-$3,000)
What you get:
- DSLR or mirrorless camera as webcam ($500-1,200)
- Camera-to-USB adapter ($100-200)
- XLR microphone and audio interface ($200-500)
- Professional lighting ($150-400)
- Stream deck for scene switching ($150)
- Green screen (optional, $50-150)
This tier produces professional-looking streams with shallow depth-of-field video, broadcast-quality audio, and smooth production switching.
When to Upgrade
Upgrade when current equipment limits your content, not before. If your smartphone streams get consistent viewers and engagement, better equipment will improve production value. If you struggle to get viewers, equipment is not the issue. Focus on content, consistency, and promotion first.
According to OneWrk, live video generates 1,200% more shares than text and images combined. The content itself drives this engagement, not the camera quality.
Optimize Your Stream After It Ends
Your work does not stop when you click "End Stream." YouTube provides tools to maximize value from your broadcast.
Trim and Edit Your Stream
According to Primal Video, YouTube Studio's built-in editor allows creators to trim their stream after it ends.
Within a few hours of ending your stream:
- Go to YouTube Studio > Content
- Find your stream (it appears as a regular video after ending)
- Click "Editor" in the left menu
- Trim dead air from the beginning and end
- Cut out technical difficulties or long pauses if they occurred
- Save your changes
The edited version replaces the original, so viewers who watch the replay see a tighter, more professional version.
Add Timestamps
Edit your video description to include timestamps for different segments:
0:00 Introduction
3:45 Topic 1: Setting up OBS
15:20 Topic 2: Configuring stream settings
28:10 Q&A session
42:30 Wrap-up
Timestamps help viewers jump to relevant sections and improve watch time by making your content more navigable.
Create Clips for Other Platforms
Extract 30-90 second highlights from your stream and post them to:
- YouTube Shorts
- Instagram Reels
- TikTok
- Twitter/X
These clips drive traffic back to your full stream and help grow your audience across platforms.
Review Your Analytics
YouTube Studio shows detailed analytics for live streams:
Peak Concurrent Viewers: The maximum number of people watching simultaneously. This indicates your stream's reach.
Average View Duration: How long viewers stayed. Longer duration suggests engaging content.
Chat Rate: Messages per minute. Higher rates indicate active engagement.
Traffic Sources: Where viewers came from. This tells you which promotion methods worked.
Use this data to improve your next stream. If viewers dropped off at a specific point, that segment needs work. If certain traffic sources performed well, invest more effort there.
Build Your Streaming Consistency
Technical setup matters, but consistency matters more. Successful streamers follow patterns that build audience expectations.
Set a Regular Schedule
Stream at the same time on the same days each week. This trains your audience when to show up. "Every Tuesday at 7 PM EST" works better than "whenever I feel like it."
Start with one stream per week. Once that feels comfortable and you maintain consistent viewership, add a second weekly stream.
Promote Before You Go Live
Announce your stream 24-48 hours in advance:
- Post on your YouTube Community tab
- Share on other social media platforms
- Email your subscriber list if you have one
- Mention it in your previous videos
According to Primal Video, you can schedule streams in advance, which creates a public event page viewers can set reminders for.
Engage With Your Chat
The live interaction separates streaming from pre-recorded video. Read chat messages aloud, answer questions, and acknowledge regular viewers by name. This interaction is why people watch live instead of waiting for the replay.
If chat moves too fast, enable slow mode to make messages manageable. If you get spam or harassment, appoint moderators from your regular viewers to help manage chat.
Improve One Element Each Stream
Do not try to perfect everything at once. Focus on one improvement per stream:
Stream 1: Get through it without major technical issues Stream 2: Improve your lighting Stream 3: Add a better microphone Stream 4: Create a starting soon scene Stream 5: Work on speaking more naturally to camera
This approach prevents overwhelm and creates steady, visible progress.
Your First Stream Will Be Imperfect (And That Is Fine)
Every successful streamer remembers their awkward first broadcast. The audio was off, they forgot to switch scenes, they did not know what to say during dead air. You will make mistakes. Your viewers expect this and often find early streams endearing.
The technical setup covered in this guide gives you a solid foundation. You know how to check your requirements, configure OBS, connect to YouTube, and troubleshoot common issues. You understand the pre-stream checklist and how to optimize after you finish.
What you learn from actually going live matters more than any guide can teach. Your first stream teaches you how your specific equipment behaves, how your internet connection holds up under load, and how you respond to live interaction.
According to YouTube, you should set up encoders at least 2 hours in advance and start streaming at least 15 minutes before your scheduled start time. This buffer turns potential panic into calm preparation.
Set your first stream as unlisted. Invite a few friends to watch and give feedback. Fix the issues they identify. Then schedule your first public stream.
The technical barriers to YouTube live streaming have never been lower. You do not need expensive equipment or advanced technical knowledge. You need a stable internet connection, free software, and the willingness to press "Start Streaming" despite imperfection.
Your audience is waiting. Set up your encoder, run through your checklist, and go live.